For users looking for such method to move their Microsoft 365 public folders to shared mailbox definitely knows their need for performing this action. Just to make clear for the blog readers that why a user moves from public folder to shared mailboxes, we are going to list the advantages of shared mailboxes when compared to Microsoft 365 public folders:
Expert Recommended: Methods to Convert Exchange EDB to PST File
These 2 advantages are enough for the users to migrate public folders to Microsoft 365 shared mailbox. However, different kind of users may have different sort of reasons for this migration. Let us know how you can migrate public folders to Microsoft 365 folders to shared mailbox manually.
Procedure for moving Microsoft 365/Exchange Public folders to Microsoft 365 Shared Mailboxes
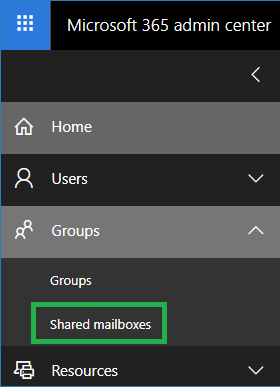
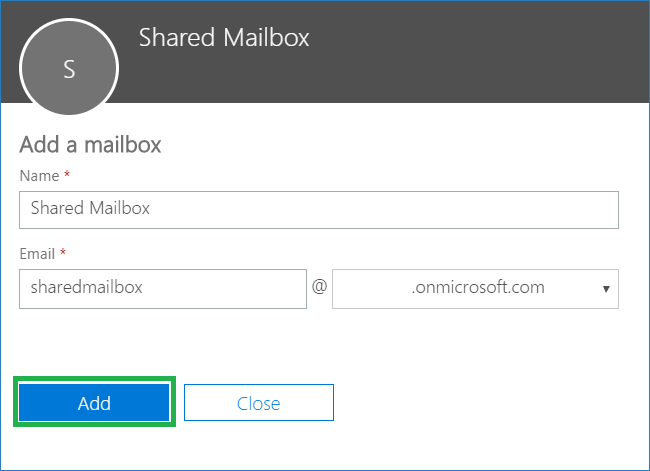
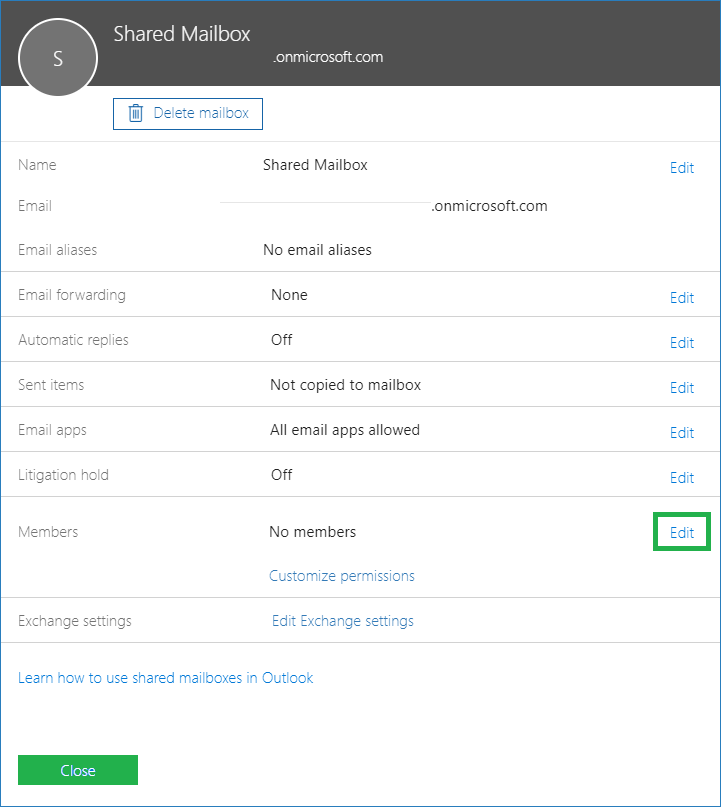
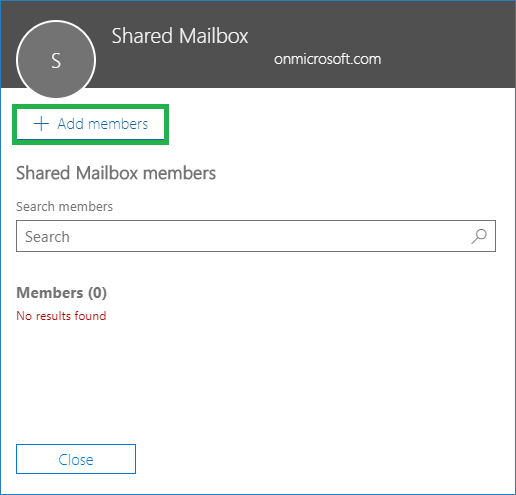
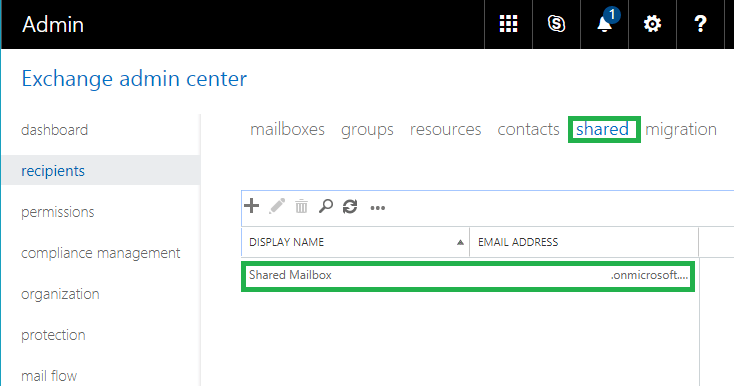
To transfer public folders data to the shared mailboxes in Microsoft 365, the user must have a shared mailbox. If you do not have shared mailbox in Microsoft 365, so here is the procedure using which you can create the shared mailbox in your Microsoft 365 account. Just follow the given steps:
There is another way to create the shared mailbox in Microsoft 365, using Windows PowerShell application connecting it with Exchange Online, thus using Exchange Online PowerShell.
To connect Windows PowerShell with Microsoft 365, follow these set of instructions.
Now, the Microsoft 365 account is successfully connected to the Windows PowerShell connection (now Exchange Online PowerShell) and users can run any command to modify the Microsoft 365 account.
The main command syntax for creating a shared mailbox in Microsoft 365 in Exchange Online PowerShell is –
New-Mailbox -Shared -Name “< mailbox name>” -DisplayName “< mailbox display name>” -Alias tom | Add-MailboxPermission -User < mailbox address> -AccessRights FullAccess –InheritanceType All | Set-Mailbox -GrantSendOnBehalfTo < mailbox address>
Note: The Administrator is required to enter few details at the respective locations in the above command at the like – full name for the shared mailbox to be created, its display name, user mailbox address to assign Full Access rights and that user mailbox address to which he want to assign the Send on Behalf to permission.
But this method is generally not suggested as it includes running the complex cmdlets and therefore there is more risk of manual errors.
Now, to move the public folders from Microsoft 365 or Exchange to Microsoft 365 shared mailboxes, you cannot rely on manual solution as there is no such direct method for it. So, we recommend you to try the exclusive Microsoft 365 migration software designed to migrate public folders to Microsoft 365 shared mailboxes. This software is designed with the intelligent and robust algorithms which allow direct migration of public folders to shared mailboxes in cloud environments. User needs not to worry about any version of Exchange or Microsoft 365 for migration as it supports all of them. To know about the complete working of this automated tool with other beneficial options, visits its website, download the free trial version and experience yourself.
Now, that you have conveniently migrated the public folders to Microsoft 365 shared mailbox using this powerful third-party EDB to PST Converter tool, that shared mailbox can be accessed through Outlook Web Access feature in Microsoft 365. You just need to right click on the user name and then select the Add shared folder option and then on selecting the shared mailbox, you can view the data available in it.
Due to differences in features and facilities between Microsoft 365/Exchange public folders and Microsoft 365 shared mailboxes, there is a need for migration. Users can create shared mailboxes themselves using Microsoft 365 Admin Center or Windows PowerShell, but for migration of public folders to shared mailboxes in Microsoft 365, a trusted third-party Microsoft 365 to PST tool is required. The software is the one which ensures you the migration with satisfying performance and security.