The best platform to organize the professional data and optimize its performance in SQL Server where several databases can be created and maintained easily. Among the tables of a database, there is the possibility to create many relationships, dependencies, primary key, triggers, procedure, etc. You can run several kinds of commands and get the desired result. Furthermore, when the businesses need to analyze the data present in the database, then they require it to export the same data to Excel.
MS Excel has a better environment for analyzing the information as it has many features like user-defined formulae, creation of different charts, formula auditing, automatic sorting, etc.
Steps to export SQL database tables to Microsoft Excel
If you can export SQL Data to an external MS Excel spreadsheet, then you can use all the features on it. We are presenting you a step-by-step procedure to export the database tables to an MS Excel file within the SQL Server Management Studio.
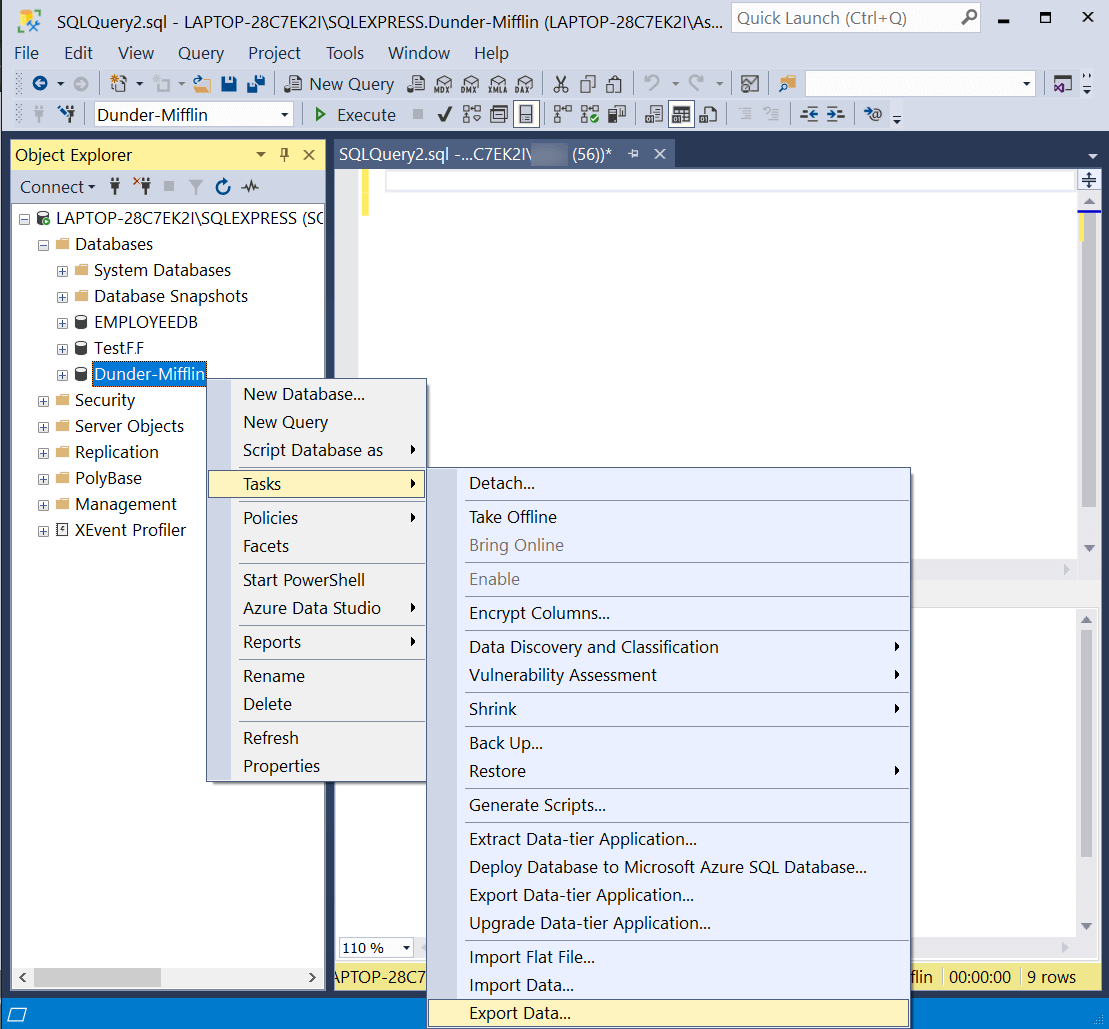
- In the SQL Server Management Studio application, go to Object Explorer and choose the database that you want to export. Right-click to the database and click the Export Data option present in the last.
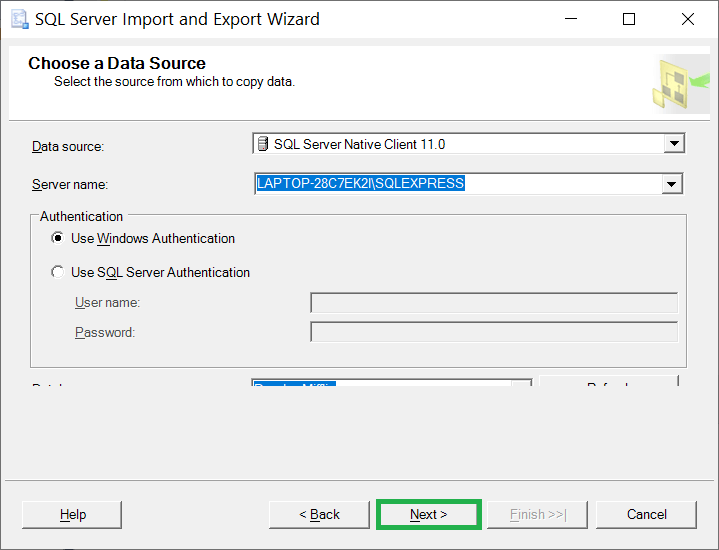
- The SQL Server Import and Export wizard is open now. Click the Next button.
- In the Data Source drop-down, select the SQL Server client and the SQL Server edition that you are using. Select the Authentication method that you regularly use to open the application. Then click Next.
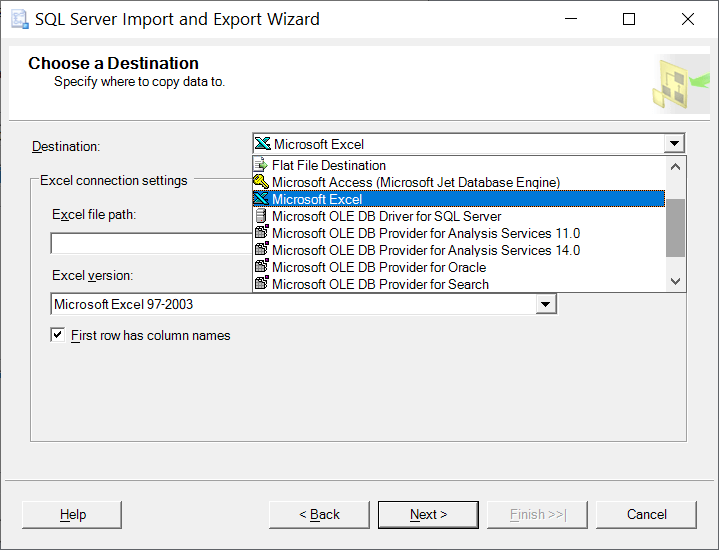
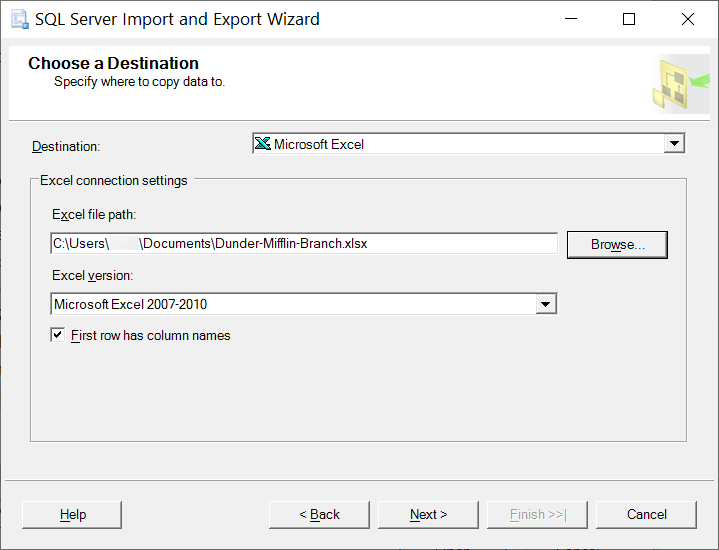
- In the Destination drop-down, you should choose Microsoft Excel.
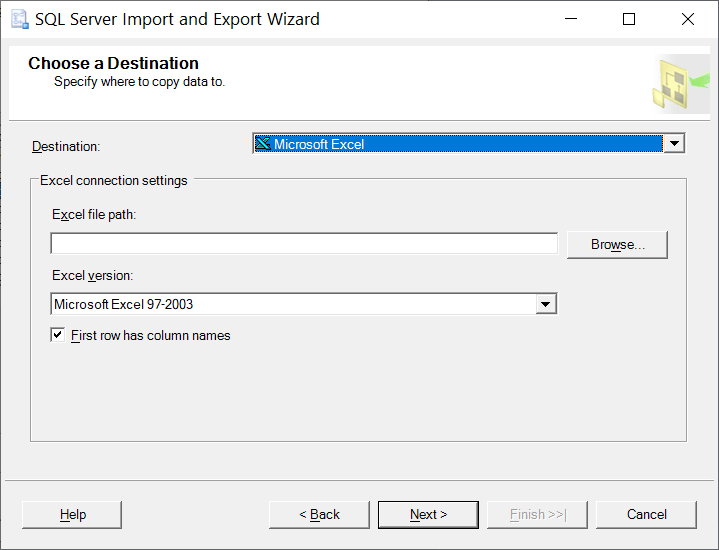
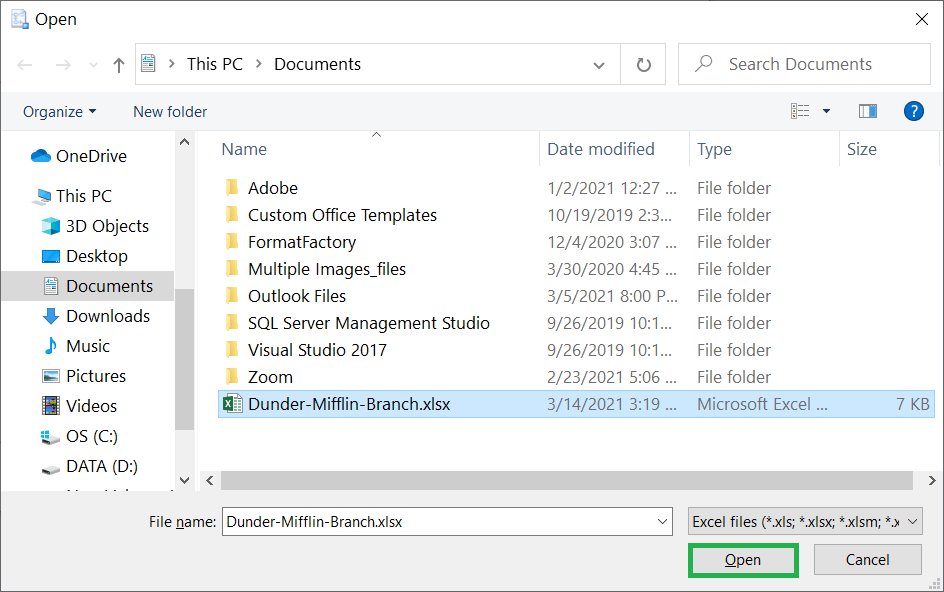
- Click the Browse button to select the Excel file where you want to save the database files.
- Select the file and click the Open button.
- Select any Excel version and click the Next button.
- An error is stopping you from exporting the content as the required provider is not added to the local machine.

- Now, you need to open the SQL Server Import and Export Data tool directly from the Start Menu.
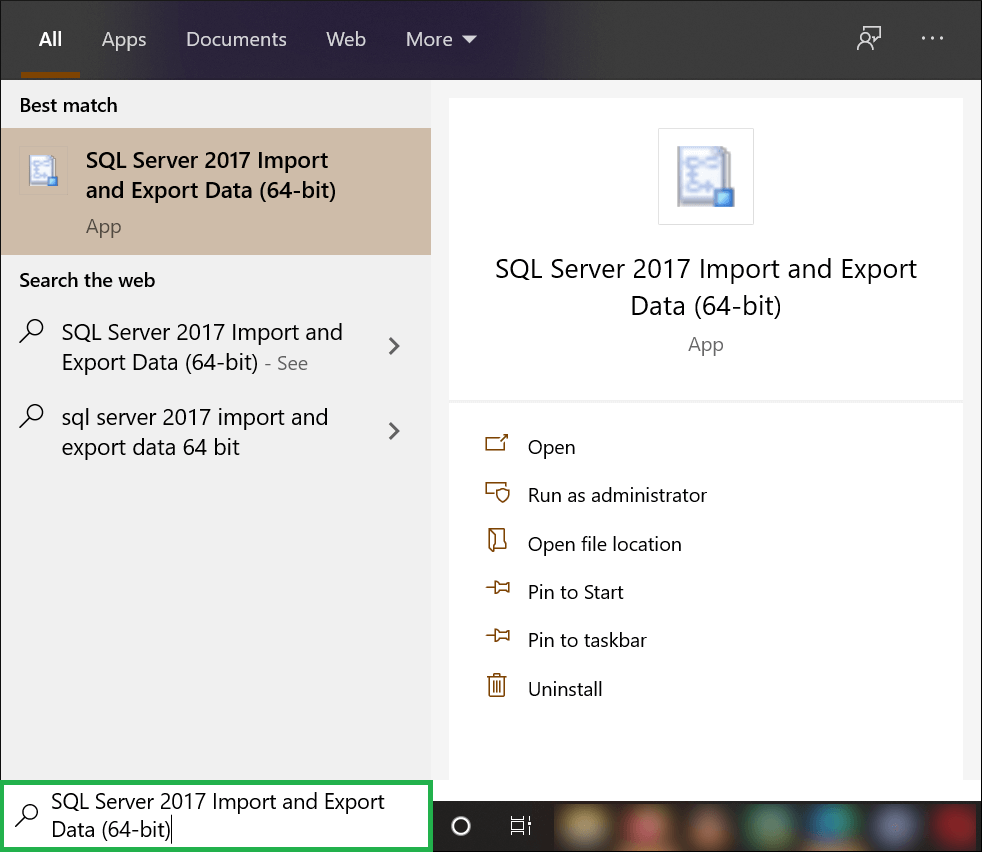
- Click Next after opening the wizard and run the same steps that you ran earlier.
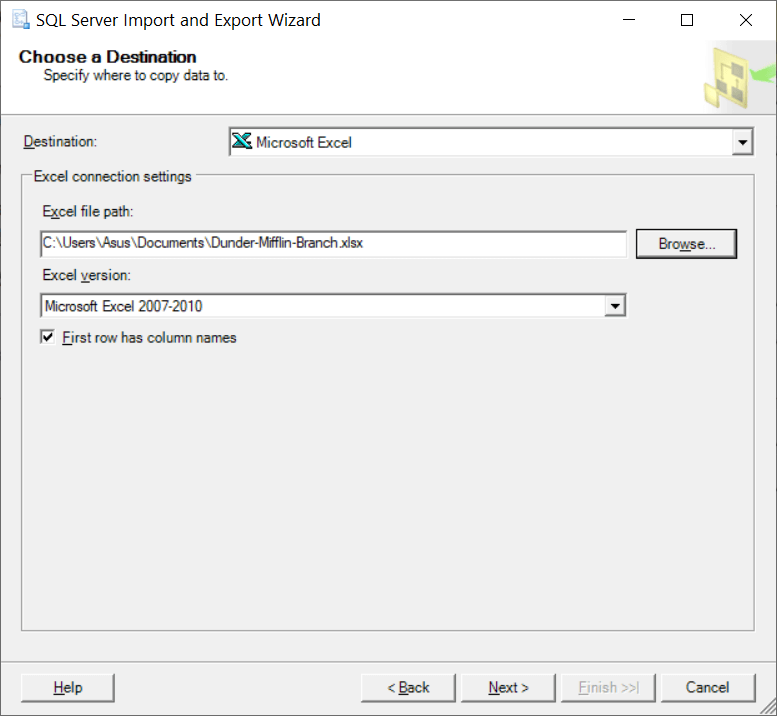
- In the Destination, select MS Excel as the destination and select the Excel file from the path and the version. Click the Next button.
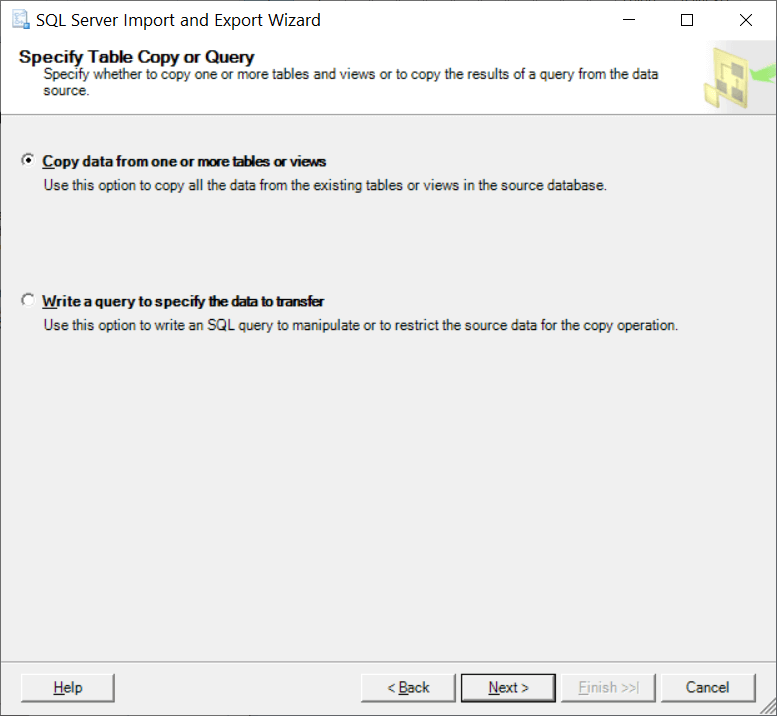
- Choose the option to copy data from one or more tables or views. Then click Next.
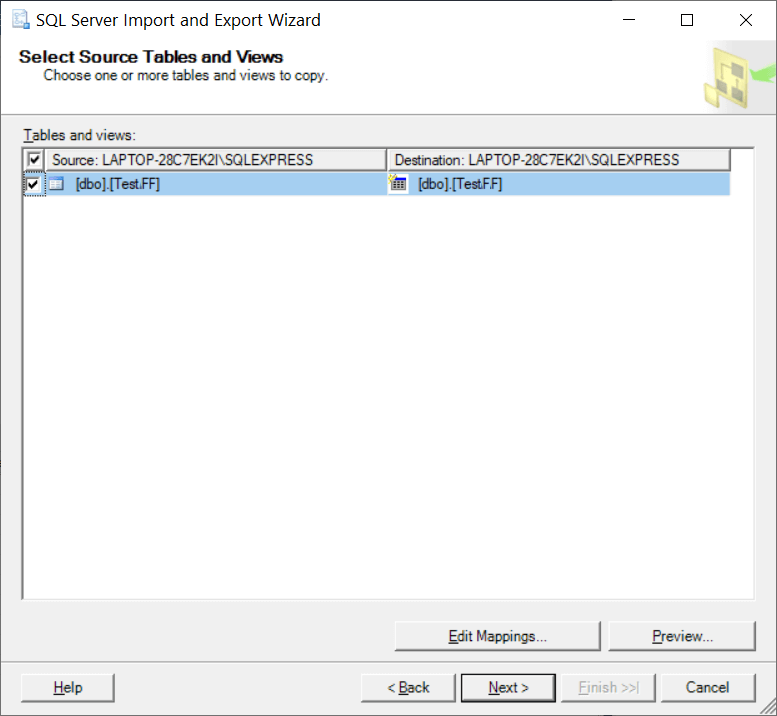
- Select the tables from the database that you want to export in the Excel file. Click Next.
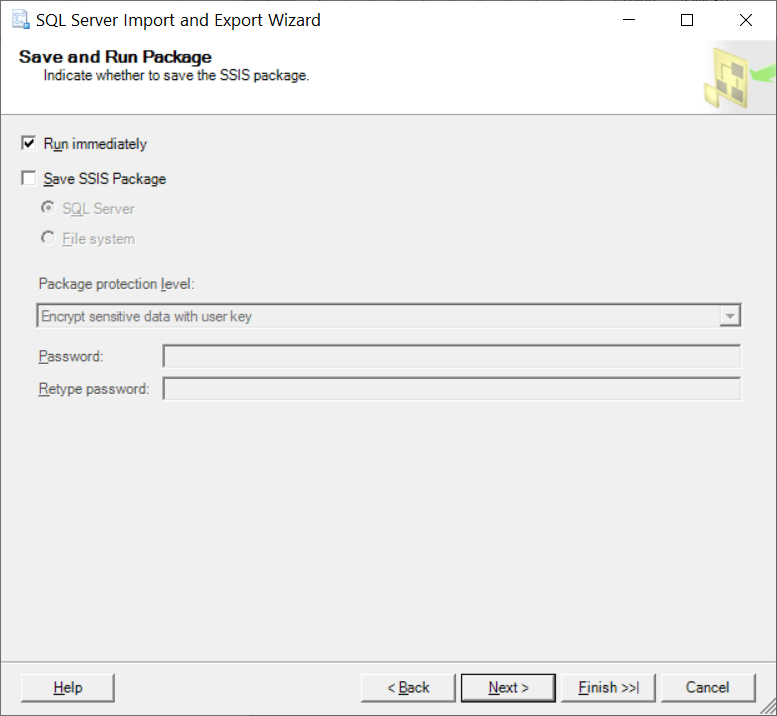
- Click the checkbox to Run the process immediately and click Next.
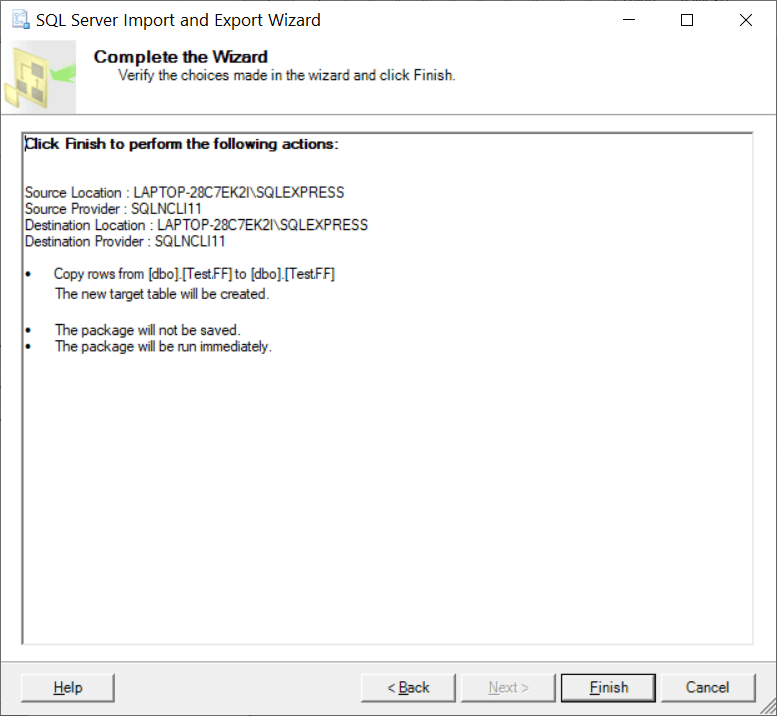
- A summary is shown showing you all the selected data and the parameter to run the process. Click the Finish button.
- The process is completed successfully. The wizard shows a total of eleven actions required to complete the process. At last, you can click the Close button to close the Export and Import wizard.

When the SQL Database content is saved in the Excel file, then you can check the information present in the table and analyze it easily. You can also consider it as a backup of the SQL database.
Conclusion
MS SQL Server has the perfect environment to create a professional database and you can create an unlimited number of the database in them. When you need to export the database to excel, then you need to choose the table along with its columns. The export and import wizard gives you various mapping and attributes properties.
But, you have seen that the process can give you some errors and a novice user may commit some fault during the mapping or selecting the correct table and columns. To make a better database export job, you should have professional software on standby. If the database file becomes corrupt, then the professional database repair software will recover the complete database from the MDF file. MDF file is the data file that saves all the databases created in the SQL Server Management Studio. The professional SQL Recovery software will allow you to access your business data and save them along with their relationships and properties.

